About this deal
Step 2 - Paint a thin layer of chocolate using a paintbrush on the inside of the mold. Place into the fridge for 5 minutes to set. I tested these hot chocolate bombs out in various amounts of milk and found that 14 ounces was about perfect. I heat my milk until it's steaming (not boiling). Place the hot chocolate bomb in the bottom of the mug and pour the hot milk on top. The hot cream opens up the bomb and all the marshmallows escape! So fun! Step 2 Using 2.5” silicone sphere molds, add a couple of tablespoons of melted chocolate to bottom of 12 molds. Use a spoon to spread the chocolate all around the sides and bottom in a smooth layer, making sure there are no thin spots. Place into freezer and chill until solid, at least 30 minutes. You may not use all of the melted chocolate, but reserve to help seal the molds together later or for drizzling on top. Using an acrylic mold has a few more steps but the shine is incredible and is much faster than using a silicone mold. I've seen some people use some really big molds and I understand why people like to use them because you can fit more things in them. But keep in mind that you want the amount of chocolate, hot cocoa, and marshmallow to be proportionate to how much milk you have in your mug so that the taste is not affected.
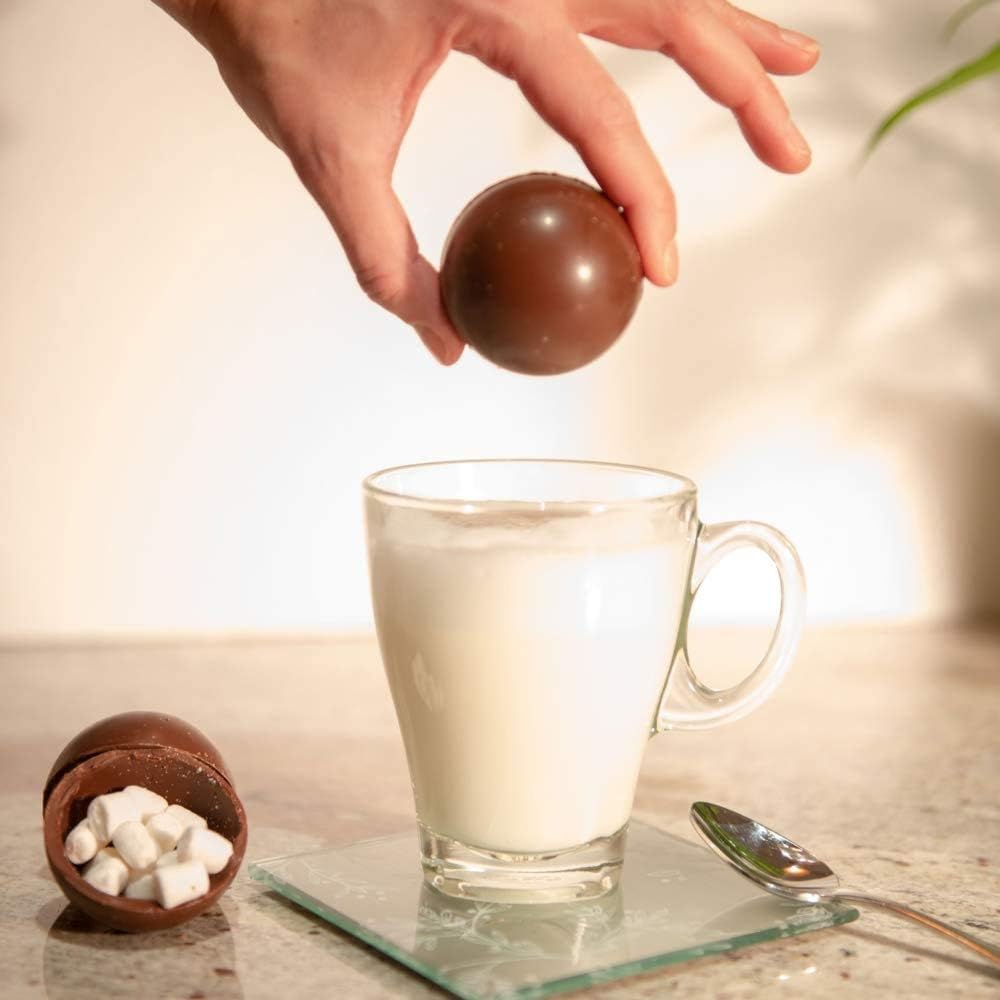
Remove chocolate hemispheres from molds. In a medium bowl, whisk together baking cocoa, milk powder and confectioners' sugar. Place 3 tablespoons cocoa mixture into each of 6 of the chocolate hemispheres. Top each with 1 tablespoon marshmallow bits. What in the world is a Hot Chocolate Bomb? A hot chocolate bomb is a chocolate sphere, filled with hot cocoa, marshmallows, and different fun surprises. All you need are some sphere molds, some chocolate candy melts, hot cocoa mix(this one is organic) but sometimes I just go for the reliable Swiss Miss), mini-marshmallows, and an afternoon to explore your creativity! Step 5 - Pour some chocolate onto some parchment paper and pop it into the fridge for 5 minutes. Take it out and observe it. Does it look shiny? Does it snap in half loudly when you break it? Then it's tempered and ready to go in your molds. Step 4 Carefully remove frozen chocolate from molds. Fill half of the molds with about 2 tablespoons of hot chocolate mixture and a few marshmallows.
Luxury hot chocolate bombes:
Melt in the microwave for 15 seconds, then 5-second increments. Stir in between. Do not go above 84ºF. If you do go above, refer to my tutorial on how to temper chocolate using the seeding method (scroll down). Step 3 Meanwhile, make hot chocolate mix: In a small bowl combine milk powder, powdered sugar, and cocoa powder.
paintbrush for applying chocolate to silicone molds. If you're using an acrylic mold you won't need one.So I would say if you had to choose, the silicone mold is better because it's basically foolproof. The silicone mold is also cheaper. The downside is that it takes a bit more time to hand paint each mold so if you're making a lot, you might want to go with the acrylic mold. Pipe a small amount of melted chocolate on edges of filled hemispheres; carefully adhere empty halves to filled halves, pressing lightly to seal, using additional melted chocolate if necessary. If desired, decorate with optional ingredients. Refrigerate until set. Store in a tightly sealed container. After 5 minutes your chocolate will easily release from the mold and are ready to be assembled! Molding the chocolate spheres with an acrylic mold Step 1 In a medium microwave safe bowl, add chocolate and oil to bowl. Microwave in 30 second bursts, stirring after each burst until completely melted.
Step 6 In a small microwave safe bowl add chocolate chips and melt in 30 second intervals, stirring after each one until melted. Drizzle tops of hot chocolate bombs and top with sprinkles, if desired. Step 3 - Apply a second coat of chocolate, paying special attention to the edges to build them up a bit so the molds have a strong edge. Place the chocolate mold into the fridge to set up for five minutes. Step 1 - Clean your mold. Use some paper towel to thoroughly polish the insides of your molds so that they are nice and shiny. Any amount of residue will cause a blemish on your chocolate. This is true for silicone molds and acrylic molds.Step 10 - In one swift move, turn the mold upside down onto the table with a bit of force to get the chocolates to all come out. Assembling the chocolate bombs Try to use the table of contents below to navigate – there are a lot of recipes listed here 🙂 Table of Contents Step 6 - Place the mold face down onto some parchment paper until it's almost set but still soft. About 5 minutes. This allows the excess chocolate to pool onto the parchment paper to build up the rim of the chocolate.
 Great Deal