About this deal
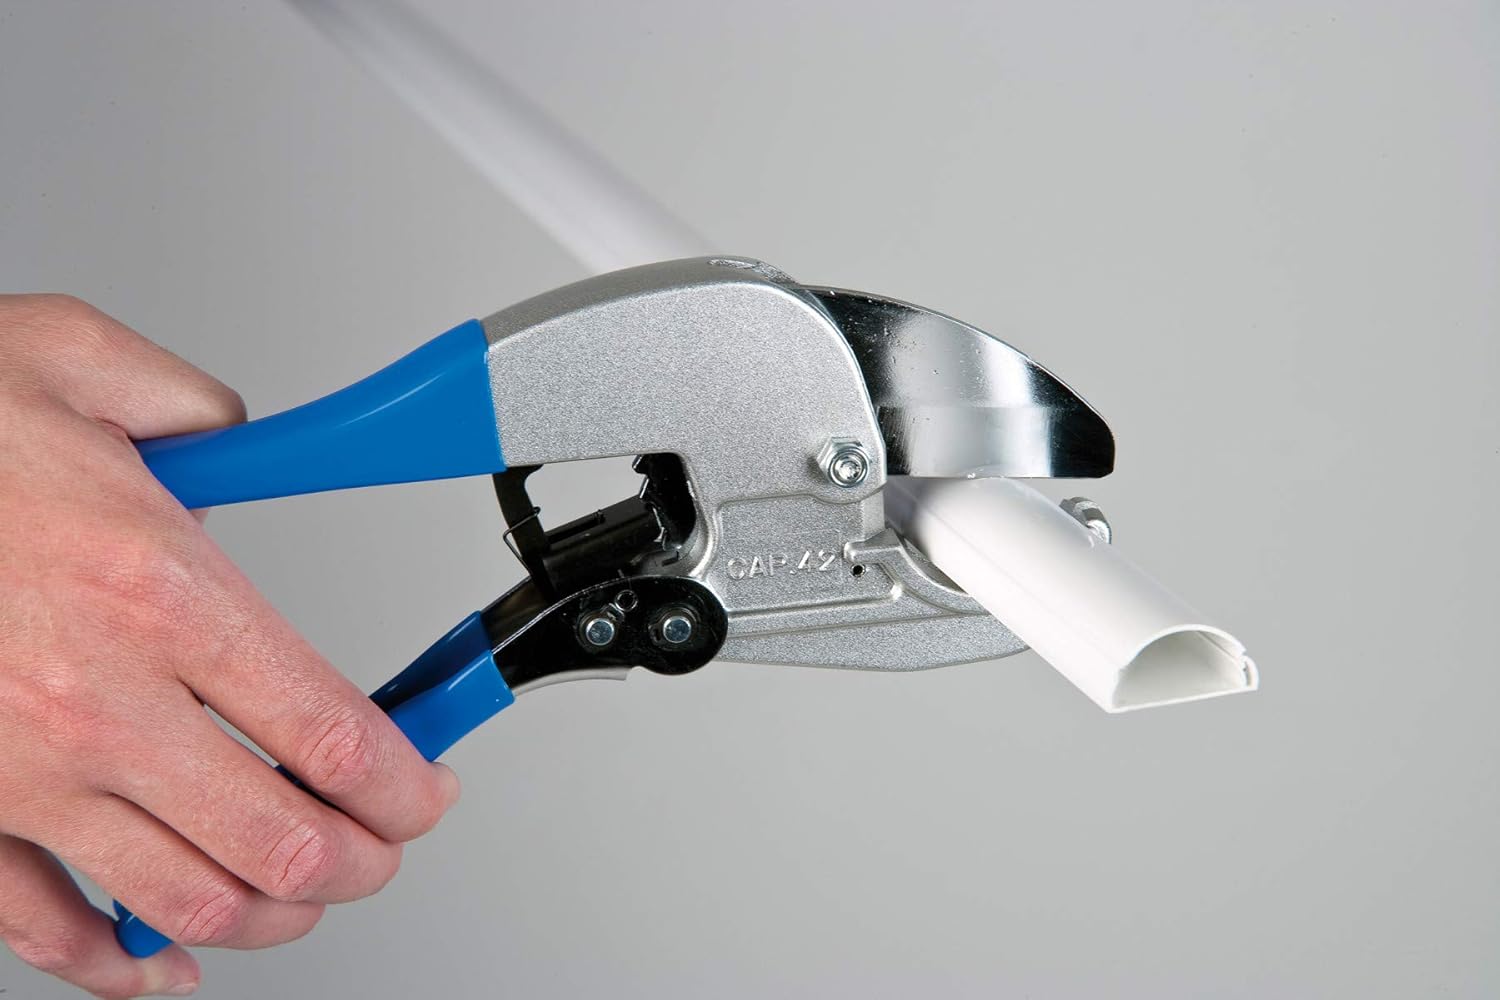
No risk! The cavity in the lid section is designed for low-voltage cables, which do not emit excessive heat - & the lid has multiple vents. Using your measurements, cut the skirting trunking sections to the appropriate lengths. Ensure clean and precise cuts for a professional finish.
To cut metal Trunking, it’s as simple as having a good metal cutter and an angle to cut along. For most angles you can just draw a line along the corner you want to put in, but for a 45 degree angle you’ll need to do a bit of maths. Installing galvanised trunking is a straightforward process that can significantly improve the organisation and protection of your electrical cables. By following this step-by-step guide, you can successfully install galvanised trunking in a variety of settings. When I started I thought the 182 mm corresponded to CA, but I've had a rethink and I believe CF is the correct amount. As CDEF is a parallelogram DE = CF. The fold angle is AEF which will be half of FCB. Come to think of it, CB isn't right for the horizontal either. Drop a perpendicular down from F to CB, let it cross CB at B' and CB' = 170mm.After completing the installation, it is essential to test the trunking system. Ensure that all cables are securely housed within the trunking and that the cover plates are properly fastened. Test the electrical connections to verify that power is flowing correctly and that there are no issues or disruptions.
To calculate the size of the cut-out in the cable tray in this situation you divide the distance between sets by the width of the cable tray ie. 1500 ÷ 600 = 2.5, then divide the amount of off-set by 2.5, ie. 350mm ÷ 2.5 = 140mm. To get the most accurate results, while the set will be close, it is always best to do the first set then calculate where to do your parallel set cut by positioning the tray.
Conclusion
Begin by positioning the first trunking section against the wall or surface where it will be installed. Use a spirit level to ensure it is perfectly level. Mark the positions for screw holes with a pencil or marker. Then, using a drill, create holes for the screws at the marked spots. i am trying to learn how to accurately measure and cut cable tray and trunking to be able to fabricate my own angles.
 Great Deal