About this deal
More so, if you travel a lot, you can make a bowl for each town you visit and showcase them in your house. They’ll store your memories in a unique and smart way. Now that your paper mache pulp is ready, you can start building up your paper mache bowl. Choose a bowl you already have, that you want to use as your mold and you can start building your paper mache bowl up. Just make sure that the bowl you use is oven-safe. How to Make a Paper Mache Bowl Step 1 – Build Your Bowl A common painting stipulation for tournaments is that all teams must be painted with a minimum of 3 colours. This technique begins with that stipulation and expands on it to create simple and effective colour schemes. I have always preferred a limited colour palette when painting Bloodbowl players, if you look at sports kits then they tend to avoid mixing too many colours as the idea is to allow fans and officials to easily distinguish between the 2 teams. I also feel that using a lot of colours can overload the model.
Once your paper mache bowl is out of the mold, you will need to let it dry out for a few more hours to make sure there are no wet spots left. You can then add your finishing touches, if any, to the bowl. You can use any type of paint on the bowls, just make sure to seal everything in with a top coat and your new paper mache bowl is ready for use. How to Make a Paper Mache Bowl with Strips
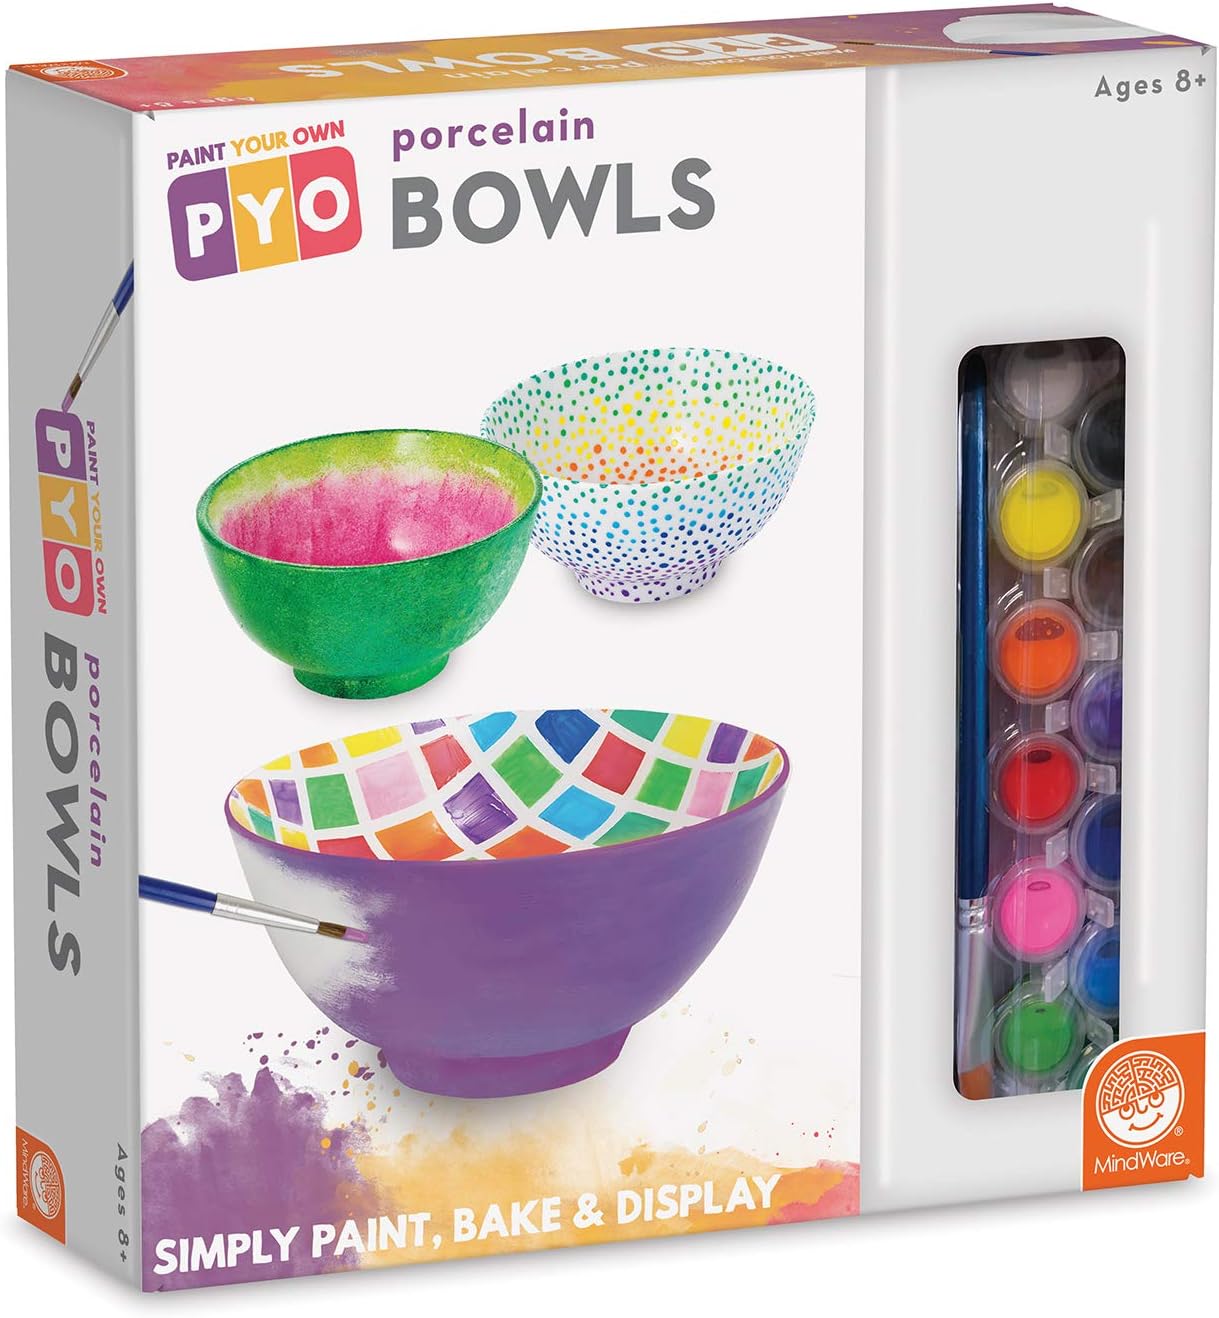
1. Sharpie Art Bowls
Once your paper and water have had ample time to soak, you can then start blending the mixture. You can use a hand blender or a normal blender to help you with this step. Just make sure you have blended it thoroughly as no big chunks of paper should be left once you’re done with it. Keep mixing in between blending so you don’t miss any paper strips in the bottom of the bowl. How to Make a Paper Mache Bowl Step 5 – Squeeze and Crumble Colours are often grouped into “families” of similar looking colours, such as warm (red, orange, yellow and gold) or cold (blue, grey, silver and white). Green, grey and purple are often counted in one or the other but can be either such as purples with a lot of blue can be cold or greens with a lot of yellow can appear warmer. You also find other groups such as “natural” colours (green, brown and warm greys) or “neutral” (browns and greys) or “pastels” (lighter versions of strong colours, ideal for slaanesh or haflings). Then, you’ll cure the pottery for about a month before using it for eating. If you aren’t willing to wait that long, you can use the bowl for decorating your house. While you won’t be able to paint your stained toilet a bright orange for example, you can still give it a new lease on life and make it look more attractive with an epoxy paint. What Kind Of Paint Do You Use On a Toilet? Once you have everything ready to go, you need to them make the paper mache pulp that is the basis of this project. Making the paper mache pulp is an easy process but will need to be prepared a few hours or a day in advance for best results.
You can use many materials to paint on ceramic bowls, and sharpies are one of the easiest because you’ll have more control over your hand movements using them. As a result, you don’t need advanced painting skills to finish this project. Adding a few tablespoons of salt will prevent mold and to make your mixture last longer. How to Make a Paper Mache Bowl with Strips Step 1 – Build Your Bowl Let’s start with the skin with a dark green of Vallejo, the same used for the Deathwing of the Dark Angels, and a brush of those that Da Vinci Brushes gave me but that I had not yet had the opportunity to use. Once you have the float secure, flush your toilet once or twice to get rid of the water. As with the first way, it may not get rid of all the water, so you may have to sop up some of the leftover water with a towel. 3. Sand Your Toilet Before you refill it with water, you’ll want to give your paint plenty of time to dry, especially if you had to add an epoxy topcoat. If you can manage, letting your toilet dry overnight before you refill it would be the best option.Paint the toilet: you will have to use an epoxy paint over the stain, so you’ll only have the choice of white as a colour. You don’t need a top coat.
Now you get to the fun stuff. Before you start priming, you need to wait until the surface of your toilet is completely dry. If want to get started right away, you could use a hairdryer or a space heater to speed up the drying process.If you can’t find your toilet shut off valve or you don’t want to mess with it, there’s another way you can keep your toilet from refilling. This is also an excellent time to make sure that the area you’ll be working in is well ventilated. Remember, open a window, turn on a fan, and keep the door open. You can thank me later.
 Great Deal